SEARCH BY CATEGORIES
SEARCH BY INSPIRATIONS
- Air filters
- Brake & Clutch levers
- Electric box
- Exhaust
- Fenders
- Footpegs
- Front protections
- Front suspension
- Front suspension protections
- Fuel tanks
- Handle grips
- Handlebar
- Handlebar switch controls
- Headlights
- License plate holder
- Mirrors
- Mudguards
- Rear frame
- Suspensions
- Seats
- Silencers
- Speedometers
- Taillights
- Thermal strips
- Turn signals
- Air filters
- Belows front suspensions
- Brake & clutch levers
- Electric box
- Engine protection
- Exhaust
- Fenders
- Foot pegs
- Front suspensions
- Fuel tanks
- Handle grips
- Handlebar switch controls
- Handlebars
- Headlights
- License plate holder
- Mirrors
- Mudguards
- Rear frame
- Rear light
- Rear suspensions
- Seats
- Silencers
- Speedometers
- Thermal strips
- Turn signals
- Air filters
- Belows front suspensions
- Brake & Clutch levers
- Electric box
- Exhausts
- Fenders
- Foot pegs
- Front suspensions
- Fuel tanks
- Handle grips
- Handlebar switch controls
- Handlebars
- Headlights
- License plate holders
- Mirrors
- Mudguards
- Rear light
- Rear suspensions
- Seats
- Silencers
- Speedometers
- Thermal strips
- Turn signals
- Air filters
- Belows front suspension
- Brake & Clutch levers
- Electric box
- Exhaust
- Fenders
- Foot pegs
- Front protection
- Front suspensions
- Fuel tanks
- Handle grips
- Handlebar switch controls
- Handlebars
- Headlights
- License plate holders
- Mirrors
- Mudguards
- Rear frame
- Rear light
- Rear suspensions
- Seats
- Silencers
- Speedometers
- Thermal strips
- Turn signals
- Air filters
- Belows front suspensions
- Brake & Clutch levers
- Electric box
- Engine protection
- Exhausts
- Fenders
- Foot pegs
- Front suspensions
- Fuel tanks
- Handle grips
- Handlebar switch controls
- Handlebars
- Headlights
- License plate holders
- Mirrors
- Mudguards
- Rear frame
- Rear light
- Rear suspensions
- Seats
- Silencers
- Speedometers
- Thermal strips
- Turn signals
- Air filters
- Brake & Clutch levers
- Electric box
- Exhaust
- Fenders
- Footpegs
- Front protections
- Front suspension
- Front suspension protections
- Fuel tanks
- Handle grips
- Handlebar
- Handlebar switch controls
- Headlights
- License plate holder
- Mirrors
- Mudguards
- Rear frame
- Suspensions
- Seats
- Silencers
- Speedometers
- Taillights
- Thermal strips
- Turn signals
- Air filters
- Belows front suspensions
- Brake & clutch levers
- Electric box
- Engine protection
- Exhaust
- Fenders
- Foot pegs
- Front suspensions
- Fuel tanks
- Handle grips
- Handlebar switch controls
- Handlebars
- Headlights
- License plate holder
- Mirrors
- Mudguards
- Rear frame
- Rear light
- Rear suspensions
- Seats
- Silencers
- Speedometers
- Thermal strips
- Turn signals
- Air filters
- Belows front suspensions
- Brake & Clutch levers
- Electric box
- Exhausts
- Fenders
- Foot pegs
- Front suspensions
- Fuel tanks
- Handle grips
- Handlebar switch controls
- Handlebars
- Headlights
- License plate holders
- Mirrors
- Mudguards
- Rear light
- Rear suspensions
- Seats
- Silencers
- Speedometers
- Thermal strips
- Turn signals
- Air filters
- Belows front suspension
- Brake & Clutch levers
- Electric box
- Exhaust
- Fenders
- Foot pegs
- Front protection
- Front suspensions
- Fuel tanks
- Handle grips
- Handlebar switch controls
- Handlebars
- Headlights
- License plate holders
- Mirrors
- Mudguards
- Rear frame
- Rear light
- Rear suspensions
- Seats
- Silencers
- Speedometers
- Thermal strips
- Turn signals
- Air filters
- Belows front suspensions
- Brake & Clutch levers
- Electric box
- Engine protection
- Exhausts
- Fenders
- Foot pegs
- Front suspensions
- Fuel tanks
- Handle grips
- Handlebar switch controls
- Handlebars
- Headlights
- License plate holders
- Mirrors
- Mudguards
- Rear frame
- Rear light
- Rear suspensions
- Seats
- Silencers
- Speedometers
- Thermal strips
- Turn signals
PLUS DE MOTO
Add description, images, menus and links to your mega menu
A column with no settings can be used as a spacer
Link to your collections, sales and even external links
Add up to five columns
Add description, images, menus and links to your mega menu
A column with no settings can be used as a spacer
Link to your collections, sales and even external links
Add up to five columns
Add description, images, menus and links to your mega menu
A column with no settings can be used as a spacer
Link to your collections, sales and even external links
Add up to five columns
Add description, images, menus and links to your mega menu
A column with no settings can be used as a spacer
Link to your collections, sales and even external links
Add up to five columns
How to do a cafe racer?
December 17, 2022
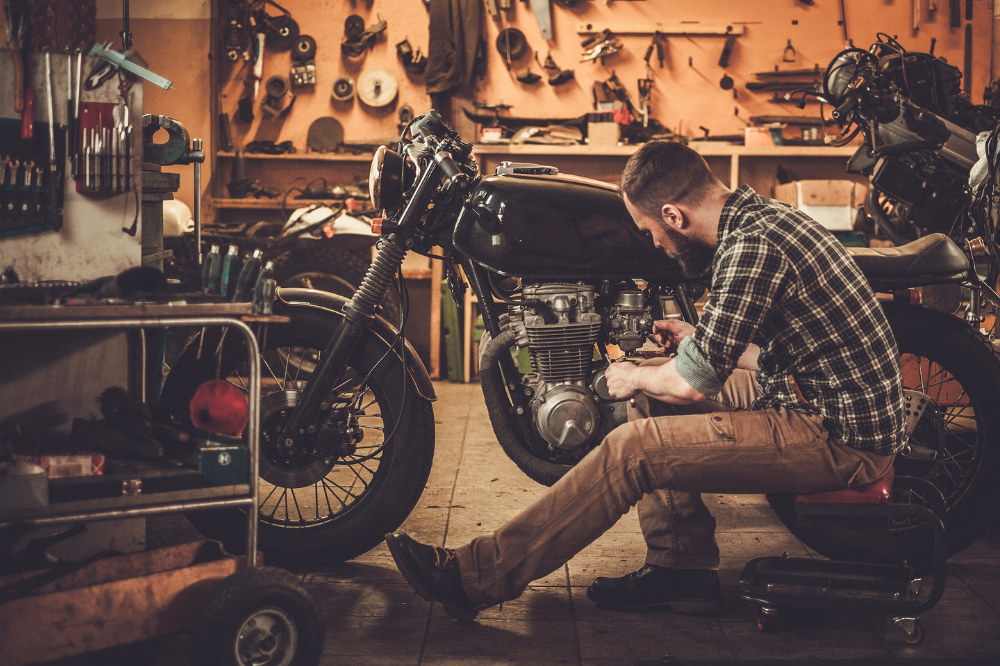
To transform a motorcycle into a cafe racer, here are the steps to follow:
Step 1: Choose a bike that fits your project.
There is no specific "best" bike for cafe racer riding, as it depends on your personal preferences and needs. However, here are some things to consider when selecting a bike for your project:
- Engine Size: Cafe racers are usually built from small to medium sized motorcycles. These bikes have a powerful enough engine to offer good performance, yet are small enough to be manageable and easy to customize.
- Parts availability: Make sure you can easily find the replacement parts you need for your project. Some brands of motorcycles are more popular with cafe racer enthusiasts and therefore have a greater availability of replacement parts.
- Cost: The cost of purchasing a motorcycle and replacement parts can vary greatly depending on the make and model you choose. Think about your budget and what you are willing to spend on your cafe racer project.
- Ease of conversion: Some bikes are easier to convert to a cafe racer than others.
Example: This BMW K100 found on selling website can give a great result.
It is recommended that you do some research to find the right bike for your cafe racer project. You can also check online forums and motorcycle groups for advice and recommendations from people who have already built cafe racers.
Step 2: Disassemble the bike and get rid of unnecessary parts.
This usually includes the rear footrests, grips and mirrors etc. Take advantage of the fact that the bike is in pieces to do a major cleaning.
Step 3: Purchase the necessary parts for your project.
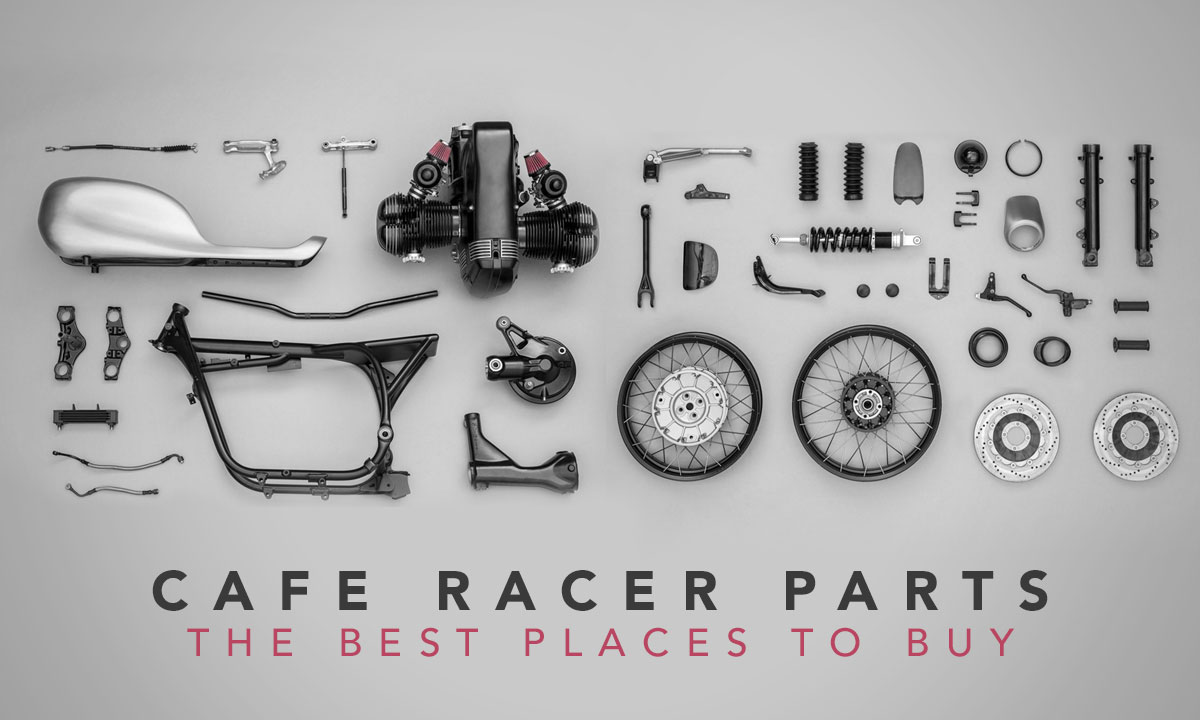
Here is a list of some of the parts you can buy to turn a bike into a cafe racer:
- Cafe racer style motorcycle tank: A cafe racer style motorcycle tank is a key part of a cafe racer's appearance. It is usually smaller and more elongated than the bike's original tank, and is often painted in a bright or metallic color.
- Single Seat: The single seat of a cafe racer is usually smaller and lower than the bike's stock seat, which contributes to the low profile and sportiness of the vehicle.
- Flat Handlebars: The flat handlebars are another typical style element of cafe racers. It is usually wider and lower than the bike's original handlebars, allowing for a sportier riding position and better handling.
- Mufflers: Cafe racer style mufflers are generally shorter and lighter than the stock ones, which helps improve the performance of the bike.
- Tires: Cafe racer style tires are generally wider and deeper than stock, which improves traction and grip.
- Shocks: Cafe racer style rear shocks are generally shorter and stiffer than stock shocks, resulting in a firmer rear suspension and better stability.
It is important to note that this list is not exhaustive and you may need to purchase additional parts depending on the needs of your cafe racer project. It is recommended that you research and plan your project carefully before you begin purchasing parts.
Step 4: Paint the motorcycle tank and single seat in the color of your choice.
Your cafe racer deserves to have a nice paint job.
Step 5: Install the new parts on your bike.
This can include attaching new handlebars, modifying the seat and adding a cafe racer style muffler.
Here are the steps to follow to install a rear loop on a motorcycle:
- Start by removing the single seat and mounting hardware. Use a screwdriver or other suitable tool to loosen and remove the seat and support bracket fasteners.
- Cut the original loop at the location you have predefined.
- Install the rear buckle on the motorcycle. The rear buckle is usually attached with bolts and washers or welded directly. Follow the manufacturer's instructions to ensure proper installation.
- Attach the seat to the rear buckle. The cafe racer seat is usually attached with bolts and washers, but you may need to use special screws or other fasteners depending on the model of your bike and your seat.
- Check that all fasteners are tight and that the cafe racer seat and rear buckle are properly installed.
In video:
Step 6: Adjust the bike's suspension and steering for optimal handling.

Here are the steps to follow to adjust the suspensions of a motorcycle:
- Check tire pressure. Tire pressure should be in accordance with the motorcycle manufacturer's recommendations, which are usually listed in the owner's manual.
- Adjust the spring preload. Spring preload is the force exerted on the front and rear springs of the motorcycle.
- Adjust rebound and compression. Rebound and compression are the settings that control how fast the shocks move when the bike is in motion.
- Test the bike and adjust the settings accordingly. After making suspension adjustments, test the bike to make sure the settings are correct. If the motorcycle is too firm or too soft, adjust the settings accordingly until you get the desired behavior.
Step 7: Perform basic maintenance on your motorcycle.
Check that all parts are in good condition and properly installed.
Step 8: Take a walk and enjoy your café racer.

It is important to note that turning a motorcycle into a cafe racer can be a complex project and requires mechanical and welding knowledge. If you are unsure of your skills in this area, it is recommended that you hire a professional mechanic to help you.
Leave a comment
Comments will be approved before showing up.


